AUT Advanced11 copy
Services

Nondestructive Examination – Advanced

HSI provides advanced nondestructive examination services to its clients that enable them to determine the quality and condition of a material without damaging it. This process has many different methods, such as thermal imaging, visual inspection, X-ray radiography, magnetic particle testing, ultrasonic testing and eddy current testing. These services are used to detect flaws, cracks, corrosion, and other anomalies in materials used for construction or manufacturing. HSI can also provide scanning services that identify potential safety risks associated with the usage of a material. These include identifying weak points that may not be visible to the naked eye to provide guidance for remediation activities. By using advanced nondestructive examination techniques, HSI is able to help its clients find problems before they become costly failures. With their expertise in this field, HSI SMEs help to ensure that their clients adhere to safety standards while avoiding unnecessary costs and losses.

Guided Wave Testing (GWT)

Ultrasonic screening technique in which mechanical stress waves are propagated along the length of a pipe to accurately determine severity and location of corrosion. Excellent in situations where access to piping is restricted. It is possible to assess tens of meters of piping per data collection. Excellent for detecting CUI, soil corrosion, and touch-point corrosion (without lifting pipe off its supports).

High Temp Hydrogen Attack (HTHA)

Technique to identify early stages of hydrogen damage. Technicians are trained & certified by Lavender International.

Phased Array (PAUT)

Numerous small ultrasonic elements arranged in a line or in a specific cluster design. By activating these elements either simultaneously or in sequence, a predetermined beam of a specific size, focus, and angle (or a range of angles) can be produced, allowing for the detailed mapping of flaws and their morphology.

Quantitative Short-Range Scanning (QSR)

Ultrasonic measurement technique in which mechanical stress waves are propagated circumferentially around piping from a single location to accurately detect and size touch-point corrosion, as well determine pipe diameter and remaining wall thicknesses around the pipe circumference.

Time of Flight Diffraction (TOFD)

Ultrasonic technique that provides extremely reliable flaw detection and excellent screening for flaws in steel components.

Tube Inspection (IRIS, RT, ET)

Techniques to identify exchanger tube corrosion, erosion, and cracking.

Electromagnetic Through-Transmission (E-C.A.T.™)

Technique where changes in an induced magnetic field are measured and used to detect CUI or CUF through insulation or fireproofing. Capable of determining estimated cross-sectional wall loss, as well as extent of an indication.

FlexoFORM

Flexible phased array probe used to identify and size remaining wall thickness, corrosion and pitting of larger surface areas.

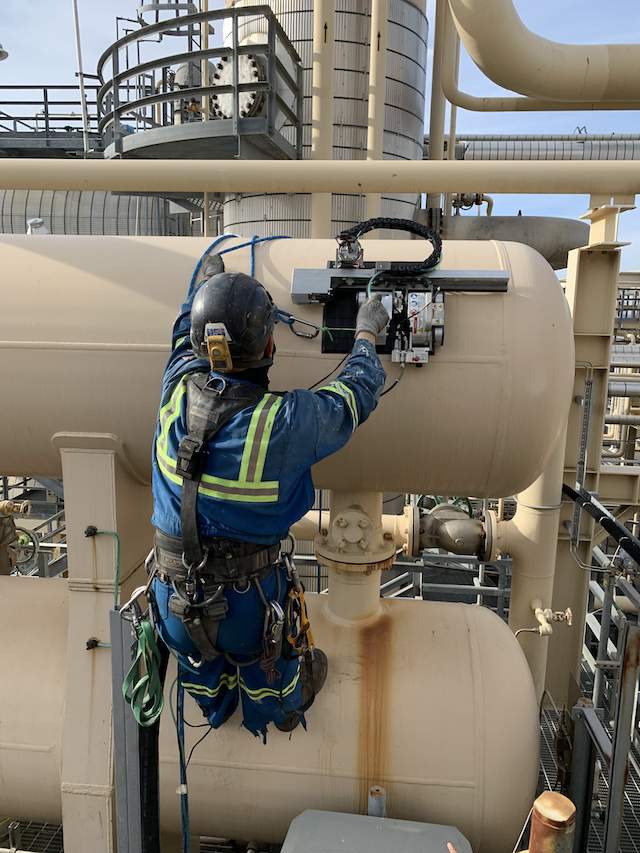
Automated Ultrasonic Inspection (AUT)

An automated technique to gather data using conventional, TOFD, and phased array transducers – or any combination of these. Used for corrosion mapping, weld inspection, and crack detection.